
Closing Shift Roblox: Where to Find the Four Keys
All four key locations from a documented Closing Shift escape run, what each key unlocks, and how the KEYS counter tells you when you have the full set.
Four keys stand between you and the way out of the restaurant, and they are not kept together.
Quick answer
The four keys are found on a shelf in the restaurant corridor, inside a locked storage locker, in the janitor corridor and dry storage, and inside the freezer, which has to be unlocked with a key before the fourth key can be taken.
- All four keys are needed, together with the four-digit code, before the elevator can be called back.
- The KEYS counter in the HUD shows how many you are carrying.
- In the same run, keys also worked as specific door and container unlocks, including the padlock on the front glass doors.
In the escape run that documented them, the keys were spread across the back of the building, and the list below is a set of places to check rather than a fixed route. Closing Shift runs a different night every day, so key placements can differ from one session to the next.
The four key locations
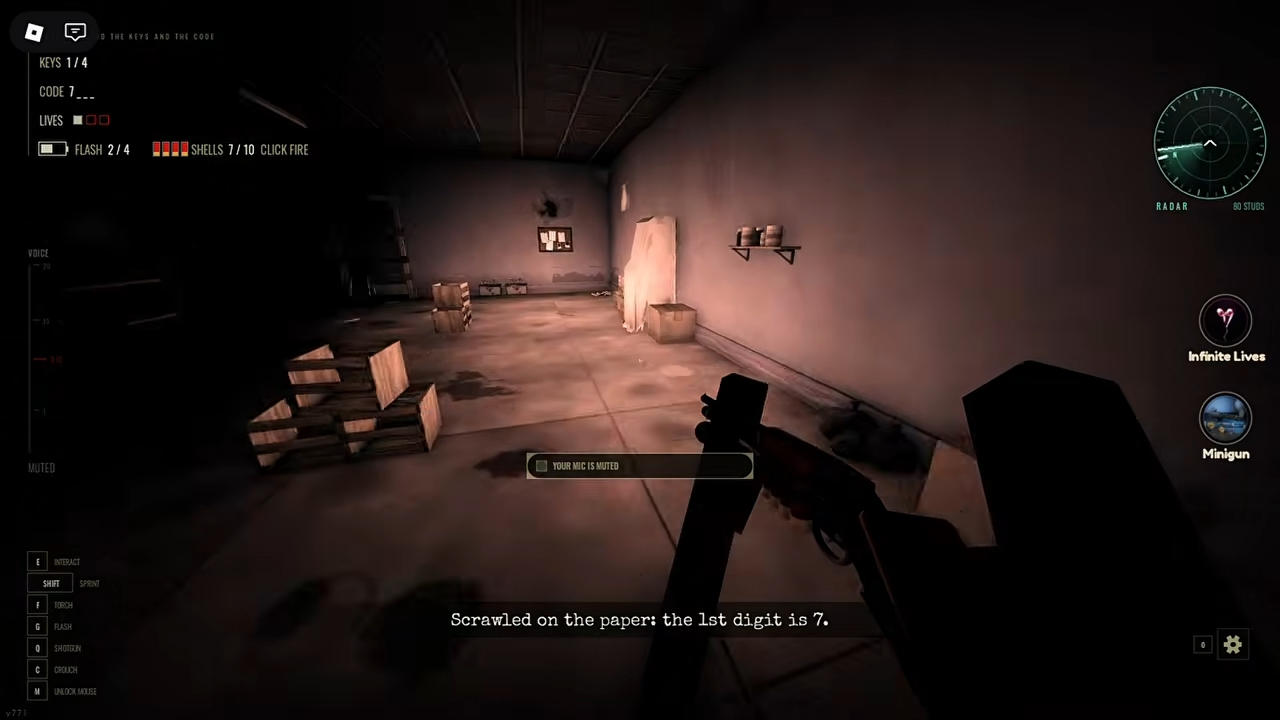
The order below is the order the keys came up in the recorded run.
Where the four keys were found in the recorded escape run
- Key
- Key 1
- Where
- On a shelf in the restaurant corridor
- What to know
- Picked up soon after the objective changes to finding four keys and the four-digit code.
- Key
- Key 2
- Where
- Inside a locked storage locker
- What to know
- It sits inside the locker rather than out on open shelving, so closed storage is the place to look.
- Key
- Key 3
- Where
- Janitor corridor and dry storage
- What to know
- Taking it moved the HUD counter to KEYS 3/4.
- Key
- Key 4
- Where
- Inside the freezer
- What to know
- The freezer is locked and another key opens it; taking this one sets KEYS 4/4 and changes the objective to FIND THE REST OF THE CODE.
Before you can search: the security room and the hatch
You do not start in the restaurant. The run begins at the front of the building, where the elevator goes down from L to B-2 and lets you out into the security/safe room with the doors closed behind you.
The route up into the restaurant is the SERVICE HATCH B-2. Hold E on its crank and keep holding until the HATCH SEALER meter reaches 100%; the hatch then opens onto stairs up into the restaurant corridor. The objective only switches to finding four keys and the four-digit code once you are up there, so if you are still reading a different objective, the key search has not started yet.
Two things in that room matter later. The Puppet at the security desk can help, which is worth using when a lock or a room has you stuck, and the security terminal switches the camera feeds, which show movement in the building while you are somewhere else.
The keys are also unlocks, not just a tally
In the recorded run the keys were tied to particular locks rather than being four interchangeable items. These are the lock uses the run showed:
Which locks the keys opened in the recorded escape run
- Lock
- The freezer
- Key used
- One key from the list
- What to know
- This is what makes the fourth key reachable at all: the last key on the list sits behind a lock that another key has to open first.
- Lock
- The janitor closet
- Key used
- Another key
- What to know
- The key was labelled as the key to the janitor closet.
- Lock
- Party room 3
- Key used
- Another key
- What to know
- The key was the key to party room 3.
- Lock
- The chain padlocking the front glass doors
- Key used
- The last key
- What to know
- A different detail from the end of the run: it was still in hand after the elevator had been called and was used on that chain.
So having four of four keys does not mean you are out. The keys and the four-digit code are separate requirements, and the padlocked front doors wait for you afterwards — the steps for that part are in how to call the elevator.
Knowing when you have all four
The HUD does the counting for you. It showed KEYS 3/4 after the third key and KEYS 4/4 after the freezer key, so the number on screen is the fastest check on whether something is still missing.
The objective text is the second confirmation. Once the fourth key is taken it stops asking for keys and instead reads FIND THE REST OF THE CODE, which is the moment the run changes from searching to code gathering; the four-digit code guide covers that stage.
If a key is not where the list says
The layout above comes from one escape run, and the game gives you a different night every day, so a spot that held a key there can be empty in yours. When one is missing, work through the same kinds of place rather than the same single room: corridor shelving, storage lockers, the janitor corridor and dry storage, and the freezer. The KEYS counter tells you whether you are genuinely short of a key or hunting one you already picked up.
Moving around the restaurant also means moving while the building is active, so the camera guide and how to hide in closets cover the parts of the run that happen between keys. For the surrounding steps — the hatch, the locks and the run back to the exit — the full walkthrough covers the whole route, and map and locations sets out what each named area of the restaurant contains.
Related Guides
Four-Digit Code: Find and Enter It
Locate the digit notes, read the CODE HUD and enter the full code at the EXIT CONTROL keypad.
Map and Restaurant Locations
Map both levels, from the B-2 safe room to the corridors and rooms holding keys and code notes.
How to Call the Elevator Back
Use the EXIT CONTROL keypad and press CALL once the keys and four-digit code are complete.